
A modern kitchen scene featuring a sleek Keurig coffee maker, a clear water reservoir filled with descaling solution, and a measuring cup with vinegar beside it. Show the coffee maker’s display panel and buttons illuminated, with steam rising from the drip tray. Include vibrant kitchen elements like a colorful backsplash, fresh coffee beans in a jar, and a cozy ambiance with warm lighting.
Clean your Keurig for great coffee and top performance. Descaling is key to keeping your machine in top shape.
Mineral buildup can hurt your coffee’s taste and Keurig’s function. Regular cleaning stops the scale from clogging parts.
This guide shows how to describe your Keurig in three easy steps. You’ll protect your machine and enjoy perfect coffee every time.
Descaling your Keurig is a must-know skill for all coffee lovers. It helps your machine run smoothly for years to come.
Why Descaling Is Important for Your Keurig
Mineral buildup is a hidden threat to your Keurig coffee maker. Water leaves calcium and magnesium deposits inside your machine over time.
These deposits can block parts and affect your coffee’s taste. They make your Keurig work harder, which can shorten its life.
Descaling removes these mineral deposits from your coffee maker. It keeps your Keurig running well and your coffee tasting great.
Think of descaling as a health check for your Keurig. It protects your machine and ensures tasty coffee every day.
Clean your Keurig every 3-6 months. This depends on your water and how often you use it.
When to Descale Your Keurig
Keeping track of your Keurig’s upkeep is key for great coffee. Most makers say to descale every three to six months.
Water type affects how often you need to descale. Hard water means more descaling. Soft water allows for less frequent care.
Look out for these signs that your Keurig needs descaling:
- Slower brewing times
- Unusual or bitter-tasting coffee
- Reduced water flow
- White calcium deposits around water outlets
Some Keurigs remind you when it’s time to descale. For other models, keep a log to track your cleaning schedule.
Regular care stops damage and makes your machine last longer. It also ensures your coffee always tastes great.
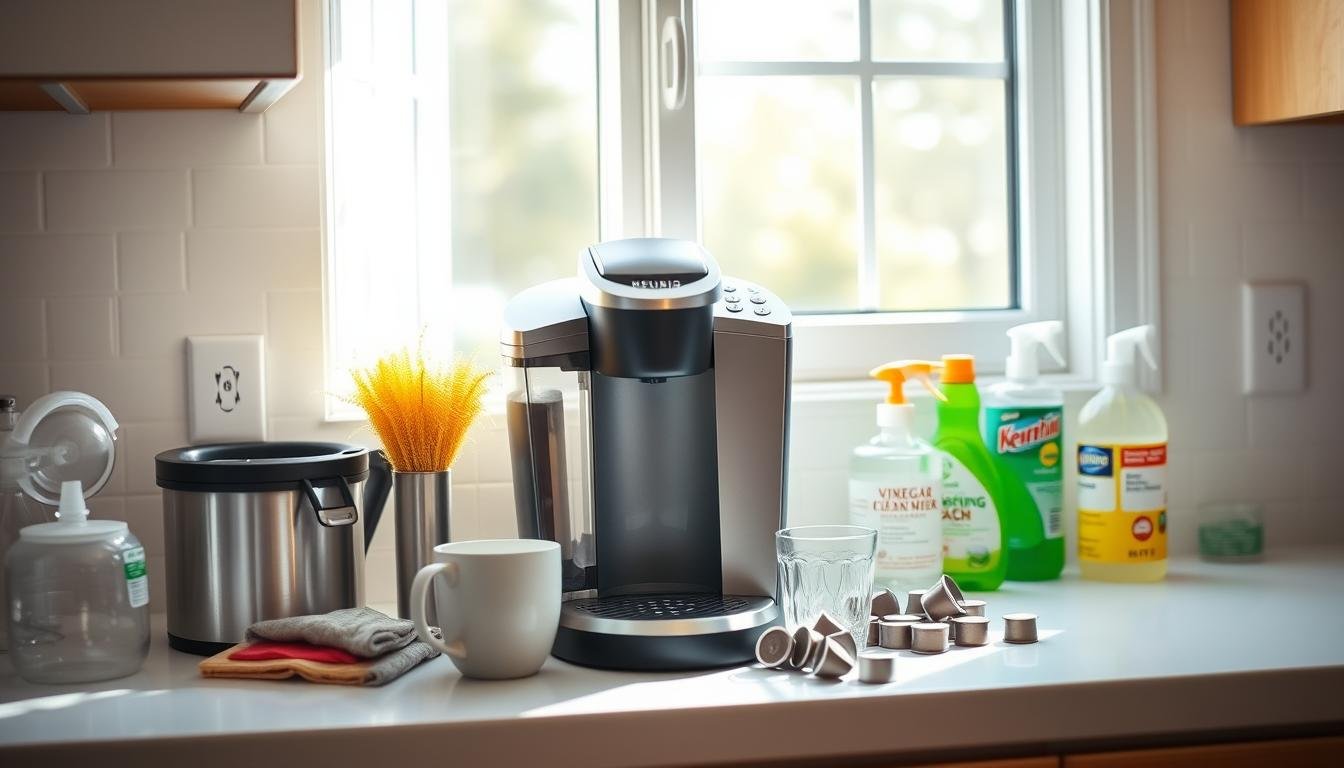
Preparing to Descale Your Keurig
Descaling your Keurig needs the right tools and solutions. Check your Keurig model to get the correct supplies.
You’ll need a descaling solution for coffee makers. Keurig’s brand works well, but white vinegar is cheaper.
Also, gather clean water, a large ceramic mug, and paper towels. Set up a clean workspace near an outlet with good light.
Remove the water tank and other parts from your Keurig. Look for any mineral buildup or dirt on these pieces.
Keep your descaling supplies handy if you brew often. This helps prevent buildup and keeps your coffee tasting great.
Get everything ready before you start. This makes the process quick and easy.
Step 1: Empty and Clean Your Keurig
A bright, modern kitchen with a Keurig coffee maker on the counter, surrounded by various cleaning supplies like a sponge, vinegar bottle, and dish soap. Show the Keurig with its water reservoir removed next to an empty mug and scattered coffee pods. Natural light filters through a nearby window, creating a clean and fresh atmosphere.
Start by unplugging your Keurig for safety. Remove the water reservoir and check for debris or buildup.
Wash removable parts with warm, soapy water. Rinse them well and dry them with a soft cloth.
Look over the machine’s exterior and interior. Wipe it down with a damp microfiber cloth.
Clean the pod holder thoroughly. Remove any stuck coffee grounds or residue.
A clean pod holder helps your Keurig work better. It also makes your machine last longer.
Step 2: Prepare Your Descaling Solution
Your Keurig needs the right descaling solution to work well. You can use a store-bought cleaner or make your own at home.
If using Keurig’s kit, follow the box instructions. Mix the solution with water as directed.
For a DIY option, try white vinegar. Mix equal parts vinegar and water.
Fill the water tank halfway with your chosen mix. This amount should be enough for cleaning.
Measure carefully when making your solution. The right mix helps your Keurig last longer.
A good cleaning mix keeps your coffee tasting great every day.
Step 3: Run the Descaling Cycle
Place a large ceramic mug on the drip tray. This will collect the descaling solution as it flows through.
Press and hold the power and brew buttons at the same time. This starts the automatic descaling mode on most Keurig models.
The solution will flow into the mug, removing mineral buildup. Keep the machine plugged in during this process.
The cycle may take 10-15 minutes, depending on your model. The machine will pause and restart several times.
Look for lights or sounds that show the cycle is done. Some models display a message or change color when finished.
Always check your Keurig manual for specific instructions. This ensures you follow the correct steps for your model.
Rinsing Your Keurig After Descaling
After descaling, a Keurig rinse cycle is vital. It removes leftover chemicals and keeps your coffee tasting great.
Fill the water tank with clean water. Take out any cartridges or filters first.
Run water-only brew cycles without a K-cup. Pick the largest cup size for best results.
Do this 3-5 times to clean the system. Taste the water to check for odd flavors.
Clean water means your Keurig is ready to use. Regular rinsing keeps your coffee maker working well.
This quick step protects your Keurig. It helps you enjoy tasty coffee every time.
Tips for Maintaining a Clean Keurig
Regular Keurig care helps your coffee maker last longer. It also ensures your coffee tastes great every time.
Wipe the outside and drip tray weekly. Use a soft, damp cloth to remove dust and coffee stains.
Clean removable parts after each use. Wash the water tank, drip tray, and K-cup holder with mild soap.
Dry all parts well to stop bacteria from growing. This keeps your machine looking clean and new.
Use filtered water to reduce mineral buildup. This helps your Keurig work better and needs less cleaning.
Tap water can clog your machine’s parts quickly. A water filter can save you time and trouble.
Store your Keurig in a clean, dry place. Keep the lid closed to keep dust out.
Check the needle that pokes K-cups often. Remove any coffee grounds that might block it.
These easy tips will keep your Keurig clean and working well. You’ll enjoy perfect coffee every day.
Troubleshooting Common Descaling Issues
Keurig troubleshooting can be tricky. Error messages or incomplete descaling cycles might pop up.
Don’t worry if your Keurig shows a warning light. Unplug it and wait five minutes before restarting.
Check if you used the right descaling solution. Make sure you follow each step carefully.
Look at the water reservoir. Is it seated properly? Is it free from debris?
For tough clogs, try a complete reset. Unplug the machine and remove the water reservoir.
Clean everything thoroughly. White vinegar can be a good alternative descaling solution.
Most Keurig problems can be fixed with patience. Take your time and solve each issue step by step.
If nothing works, call Keurig’s customer support. They can help with your specific model.
Regular cleaning prevents most issues. Stick to a cleaning schedule to keep your coffee maker happy.
FAQ
How often should I describe my Keurig coffee maker?
Describe your Keurig every 3-6 months. This depends on how often you use it and your water hardness.
If brewing slows or taste changes, it’s time to descale.
Can I use vinegar to describe my Keurig?
White vinegar works well for descaling. Mix equal parts vinegar and water for the cycle.
Keurig’s official solution is best for results and warranty protection.
What are the signs that my Keurig needs descaling?
Watch for slower brewing and weak coffee taste. Check for mineral buildup and unusual noises during brewing.
Is descaling different for various Keurig models?
The basic process is similar for all models. Check your manual or Keurig’s website for specific instructions.
Can descaling improve my coffee’s taste?
Yes! Descaling removes mineral buildup that affects flavor. Regular descaling ensures great-tasting coffee every time.
What happens if I don’t describe my Keurig?
Not descaling can harm your machine’s performance. It may clog lines and reduce heating efficiency.
Regular maintenance helps your Keurig last longer.
How long does the descaling process take?
Descaling usually takes 45-60 minutes. This includes prep, running the solution, and rinsing cycles.
Can I prevent mineral buildup in my Keurig?
Use filtered or bottled water to reduce mineral deposits. Clean and descale regularly for best performance.
You may also read:Simple Steps to Delete a Page in Microsoft Word